ubuntu 18.04 ssh登录添加Google Authenticator两步验证
安装好ubuntu之后
sudo apt update然后安装Google Authenticator
sudo apt install libpam-google-authenticator如果安装过程中报错
E: Unable to locate package libpam-google-authenticator
添加这个源
sudo add-apt-repository universe
命令执行完成之后再次安装。
安装完成之后修改文件
/etc/pam.d/sshd
在此文件末尾添加
auth required pam_google_authenticator.so
如果你希望没有开启两部验证的账号还可以登录,则在此文件后面添加
auth required pam_google_authenticator.so nullok
接下来修改ssh配置文件
/etc/ssh/sshd
修改
ChallengeResponseAuthentication no为
ChallengeResponseAuthentication yes
重启sshd服务
sudo systemctl restart sshd.service
接下来我们就可以通过
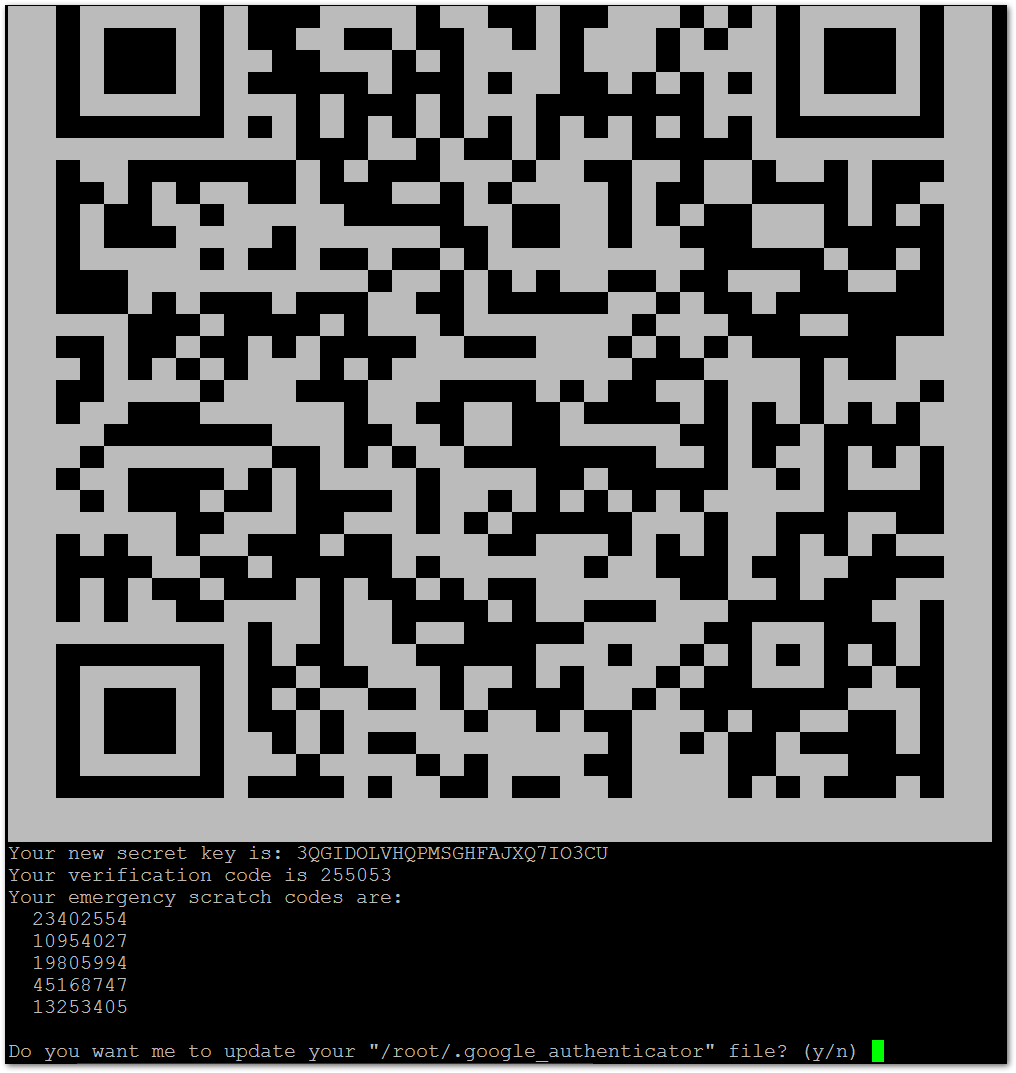
google-authenticator
来生成一个二维码和密匙,全部选择yes,如下图

通过扫描二维码或者输入密匙添加到Google Authenticator App,接下来登录时在输入密码的同时还需要输入谷歌验证中的验证码,如下图:

到这里Google Authenticator就配置成功了。